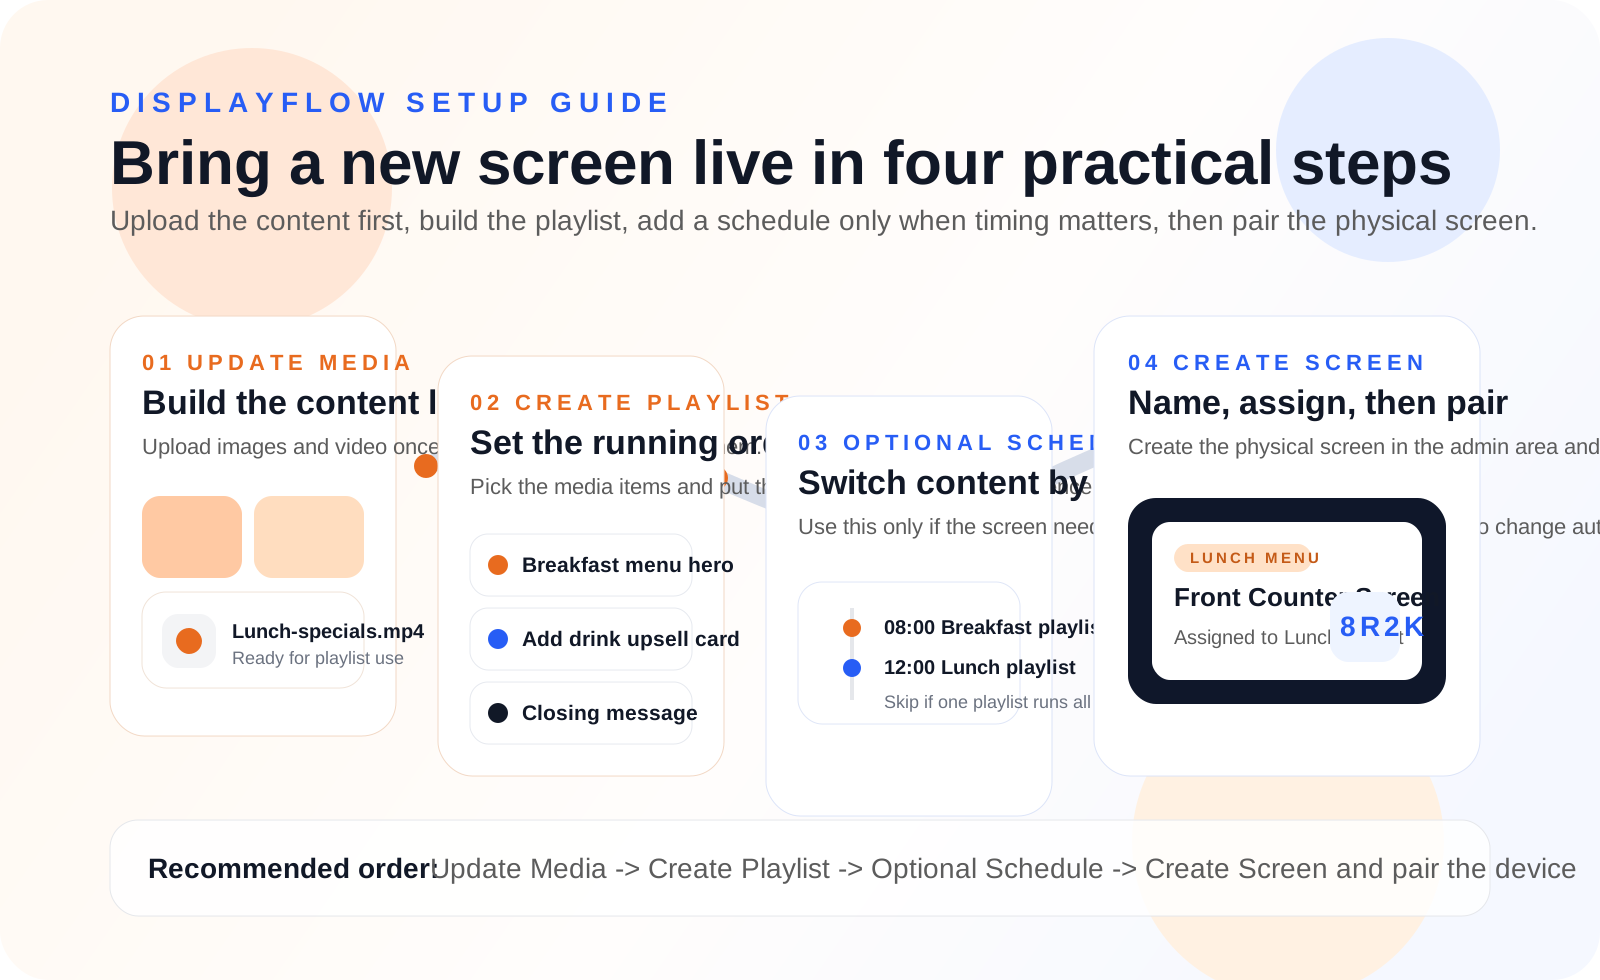
01
Add your content
Add your content
Start by adding the content you want to show on screen.
- Upload images and videos, import a public media URL, or create artwork with AI Media.
- Build slideshows, menus, events, timetables, property or room-hire listings, and web/RSS pages as needed.
- Add quiz questions if you want quiz slides in the loop.
Every playlist item starts as uploaded media or a saved content page.
02
Build the playlist
Build the playlist
Go to Playlists and create the running order for the screen.
- Add media, saved content pages, slideshows, or fixed/random quiz items.
- Optionally add a reusable text, date, time, QR code, or image overlay to an individual item.
- Set the order so the screen plays exactly how you want it to.
- Use separate playlists when different screens need different content.
For most first screens, one playlist is enough.
03
Create the screen
Create the screen
Go to Screens, add the screen, then choose what it should run.
- Assign a direct playlist if the screen should play one feed all day.
- Use a schedule only if the screen needs to switch playlists by time or day.
- Optionally assign a reusable screen overlay that remains visible across direct and scheduled playlists.
- Use Tickers for scheduled scrolling messages on one or more screens.
Schedules are optional. They are only needed for timed changes.
04
Open the screen on the device
Use the screen code or screen link from the Screens page on the device that will show the content.
- Open the generated screen URL in the device browser.
- Leave the player running on that screen.
- Future playlist or screen changes will sync from the admin side.
After that, you manage the screen from DisplayFlow rather than from the device itself.